SAQA Seminar - Unit 3
Gallery - Agusta Agustsson
DESIGN PROCESS
Gelatin printing on fabric is just part of my process. It is how I create the fabrics I will use in my quilts. I print on fabrics I have in my stash, but also on fat quarters when there is a big sale. The commercial patterns create an interesting frission with the printed images. Before I begin printing I chose a pile of fabrics giving them a cursory ironing to make them easier to print. I gather a collection of objects that I want to use to create impressions on my gelatin plate. Some of the objects come from my walks in the woods. Others are random found objects such a bubble wrap and fruit netting.
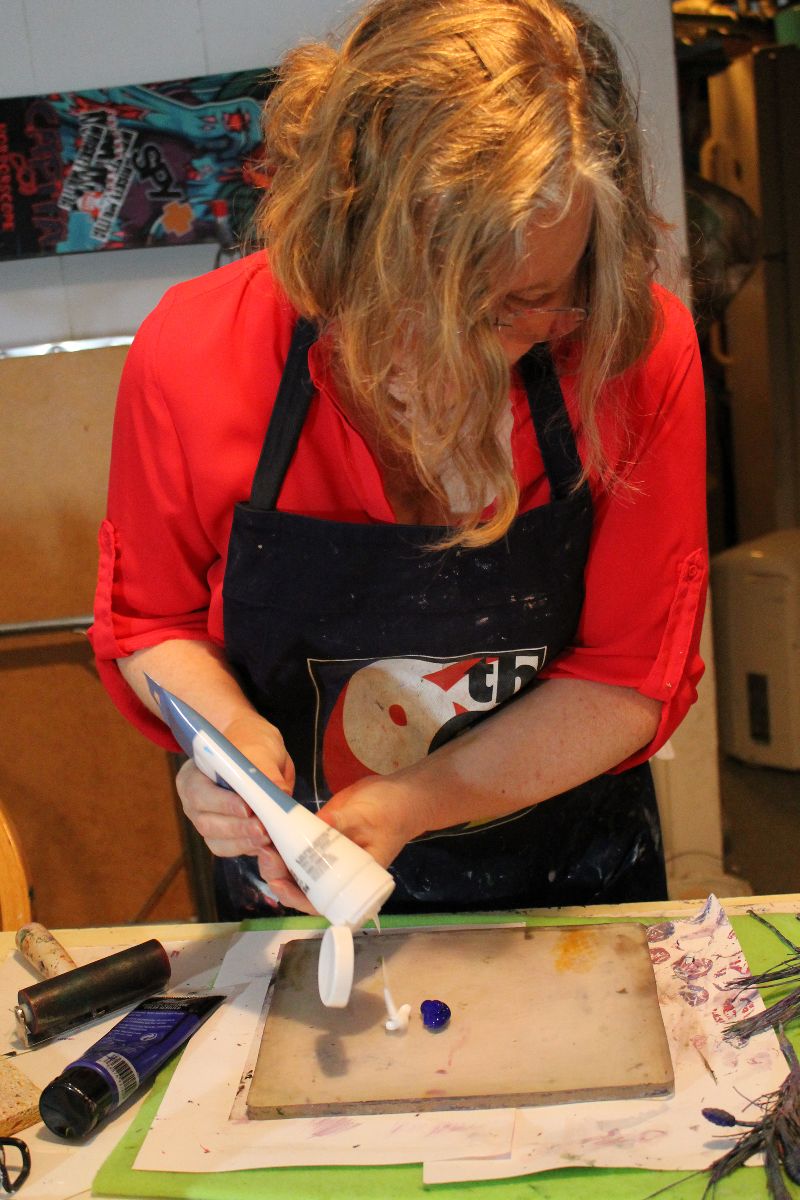
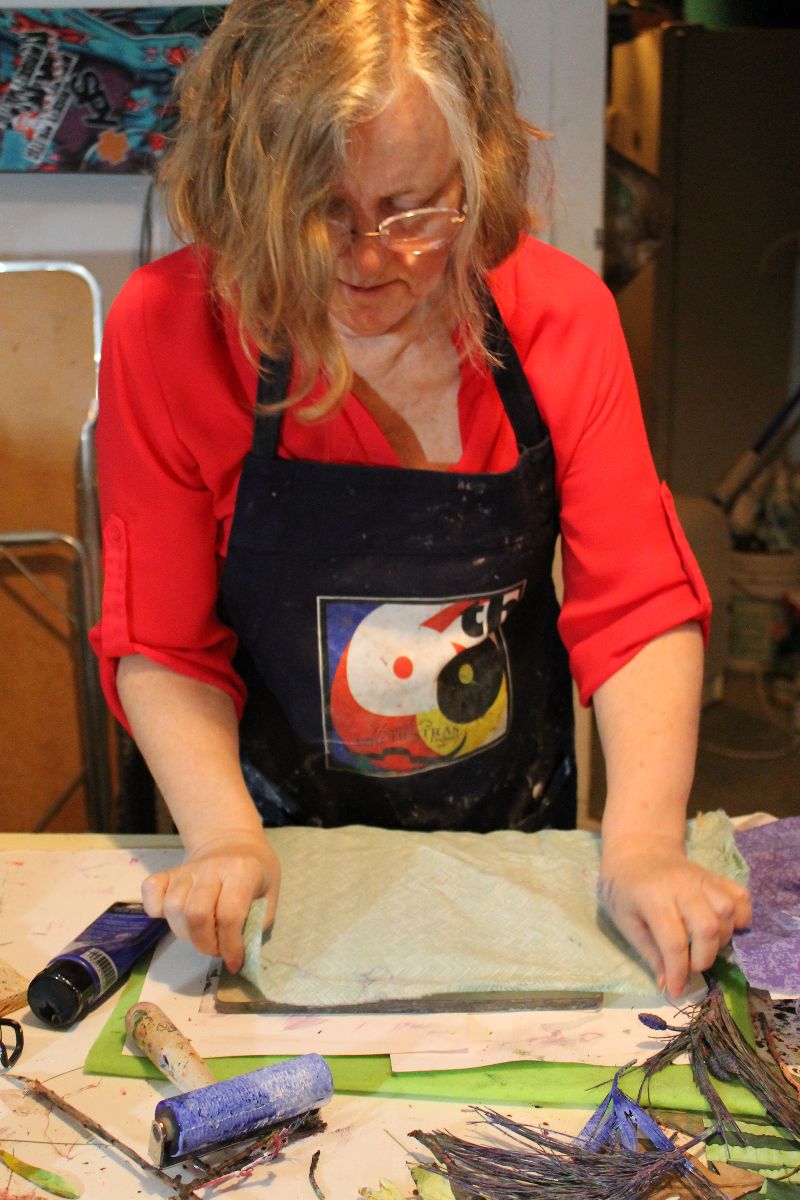
The process is pretty intuitive. I begin by putting acrylic paint on my plate (process 1).
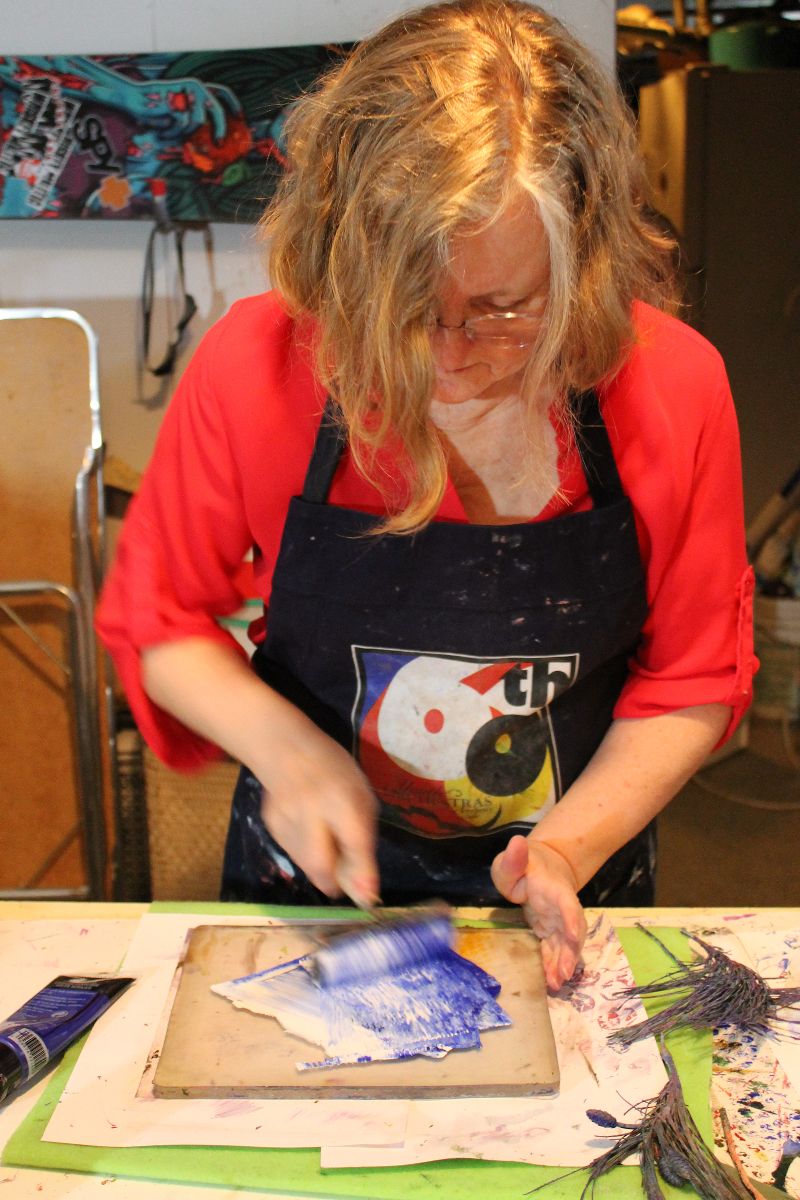
I spread the paint with a brayer, not necessarily covering the whole plate (process 2). A random edge can soften an image.
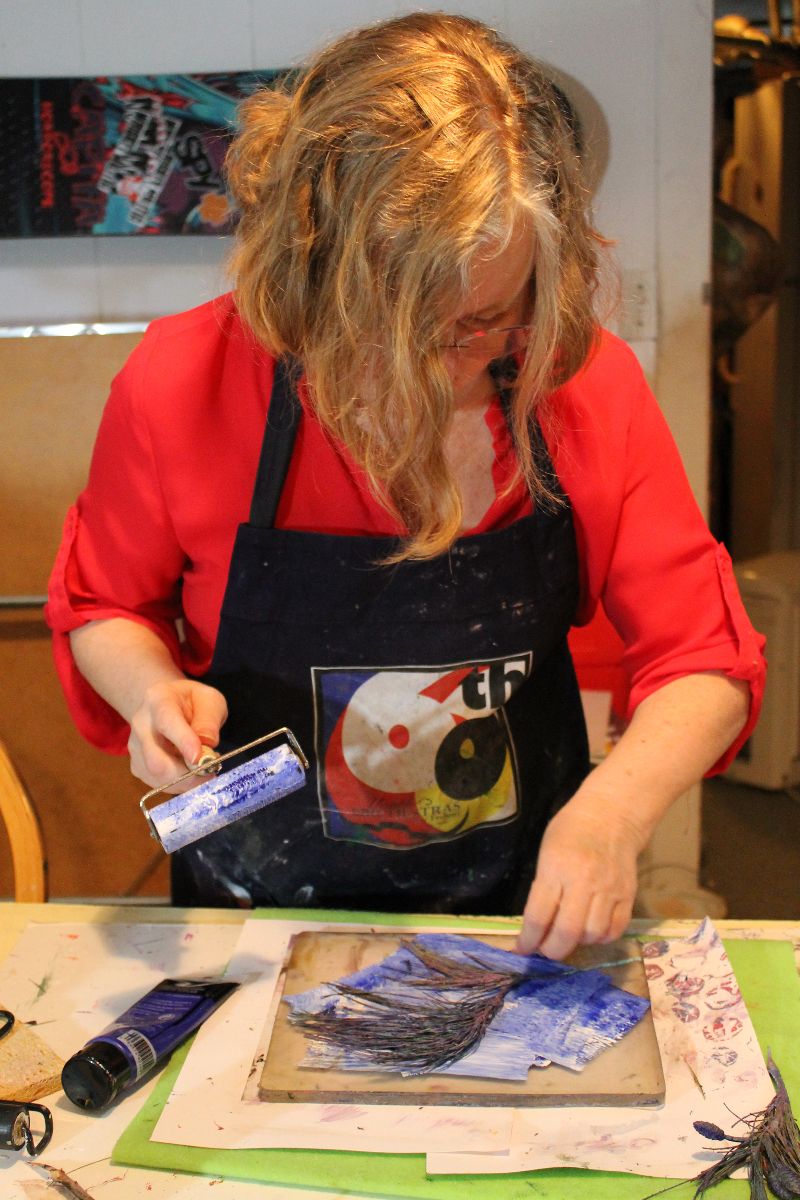
Then I place the object I am going to print on the plate (process 3).
I place the fabric over the plate (process 4).
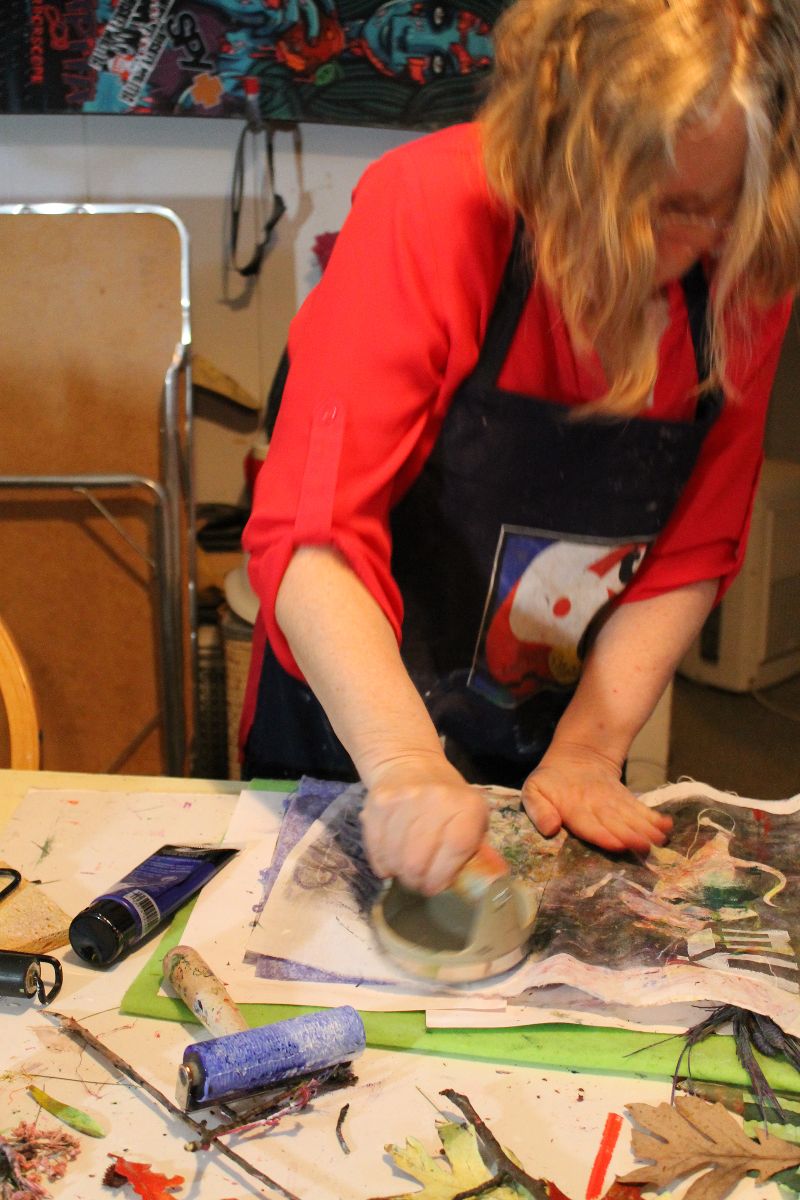
Next I use a baren to press the fabric to the plate (process 5). Sometimes I print the object as a negative image.
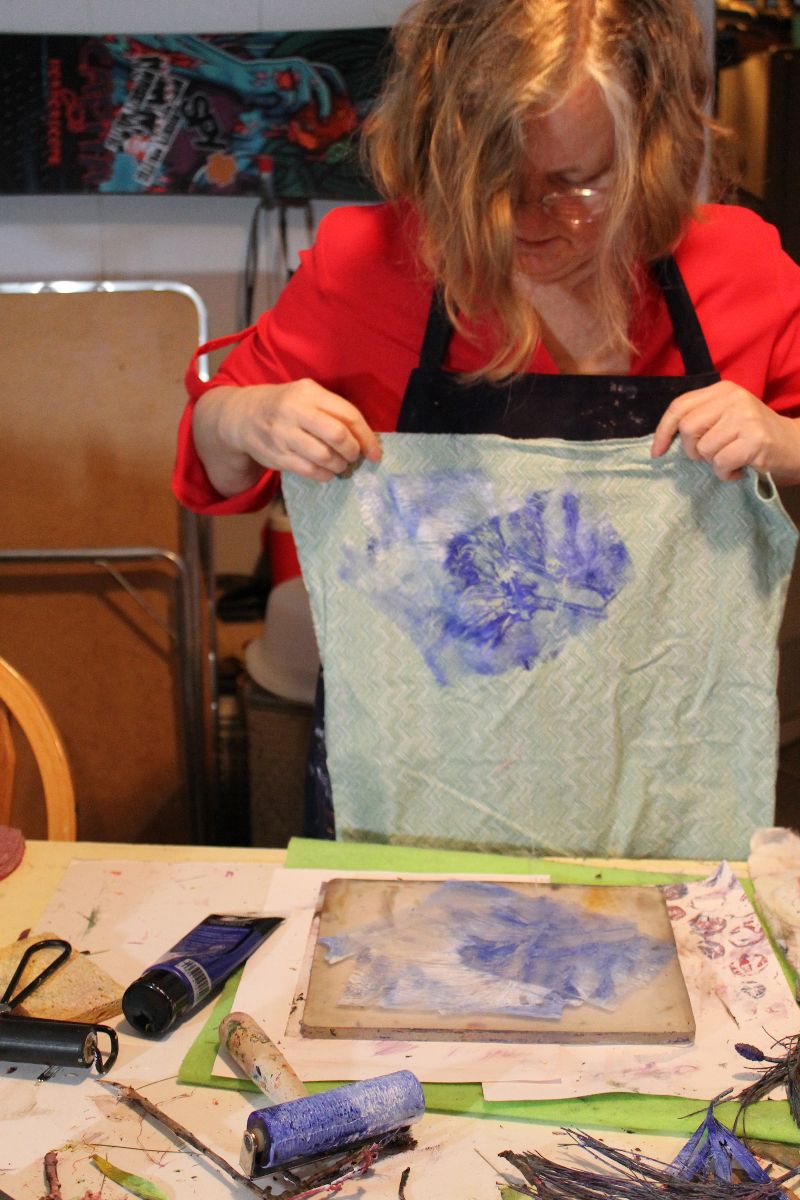
Other times I lift away the object and print the ghost (process 6). I continue printing and build up several layers. I try to make the fabric interesting, but not look like a completed print.
After the fabrics have dried, I look at them, rearrange them, cut them up and rearrange them again (process 7).

Then I begin pinning pieces to my design wall (process 8).
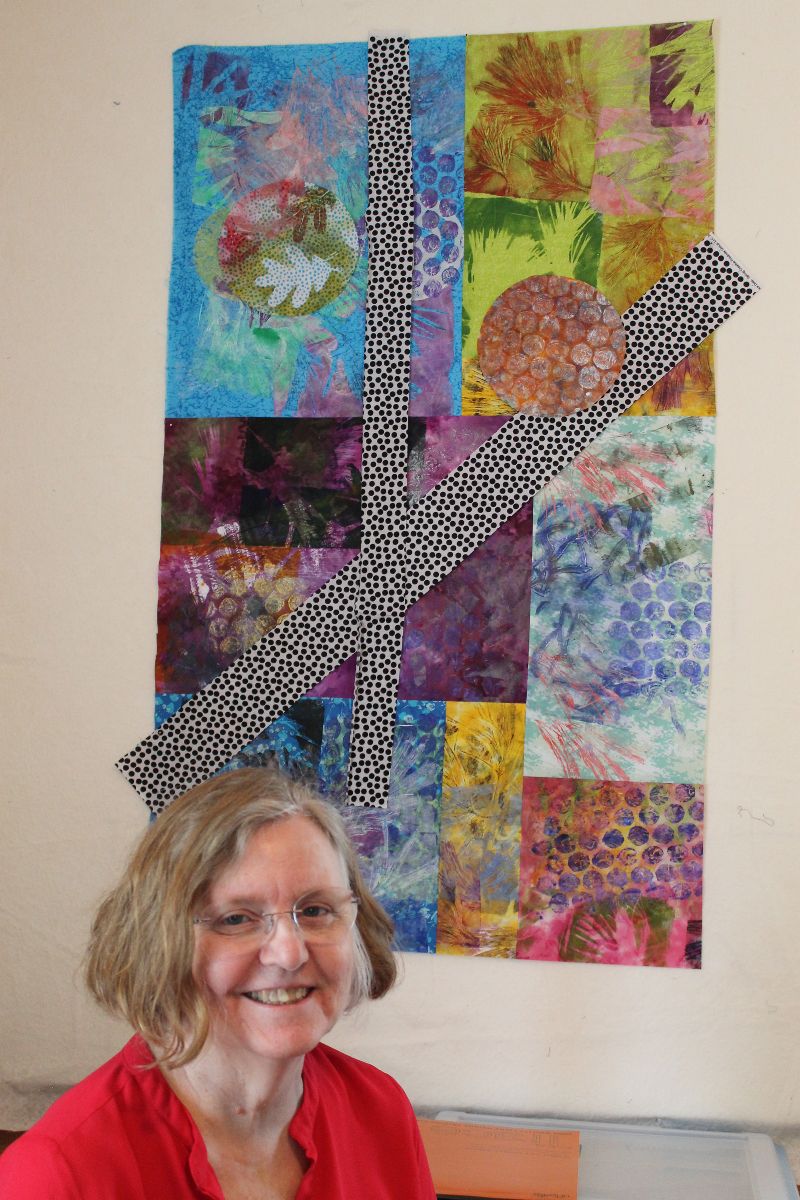
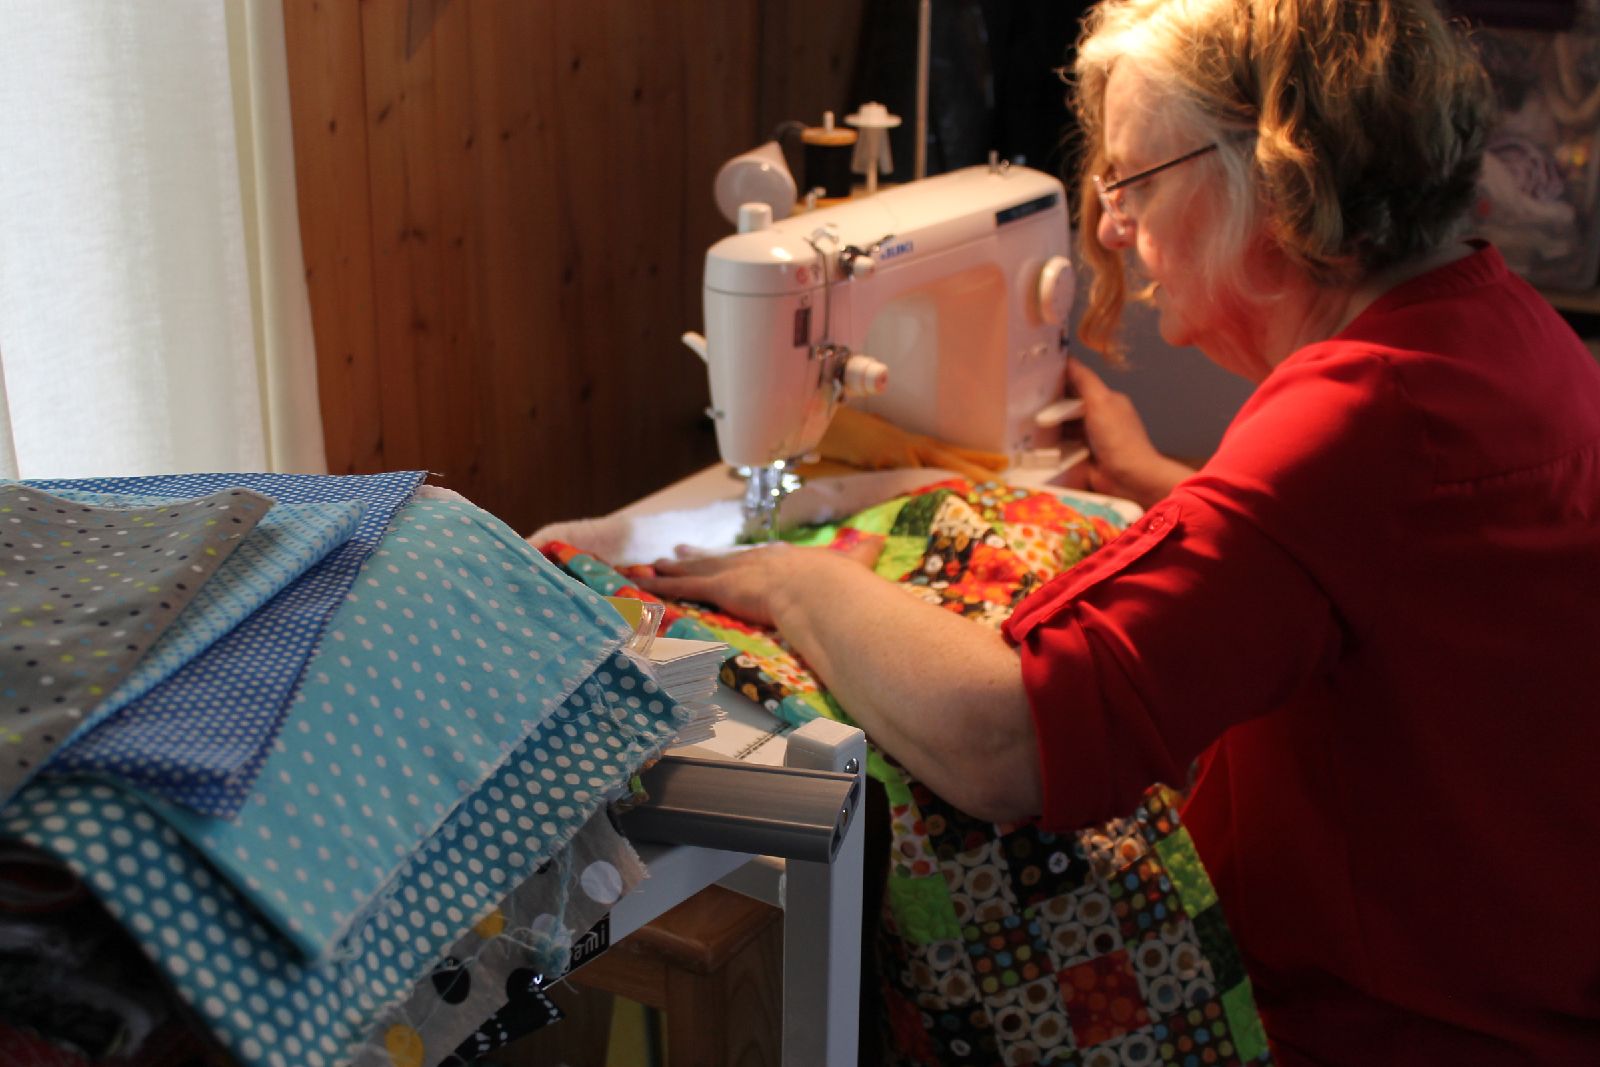
When I am mostly satisfied I begin sewing, still leaving myself the option to change things (process 9).